"Feed Your Imagination.”
Follow along with me during my papermaking & bookbinding artist residency at Wisteria Montessori, 2023.
@mindypaperart
|
|
Monday, April 24 | 9am - 2:30pm
Stopped into the Haverhill Print Cafe first thing to pick up a couple booklets reflecting on the residency and to dig through the scrap paper bin again. Thanks!
Brought in a grape cookie cutter today to make wisteria flower paper.
Mixed a few sheets of purple paper with some lilac tissue paper and more white scraps.
Added in a bit of green string at the tops of the sheets and layered with more pulp to see if they hang nicely after they dry. Also layered the cutter and pulp over itself a few times to get a longer looking flower.
The children helped pour the sheets at the sensory table and I started at the very beginning collecting the water from the sheets in a separate vat to cut down on clean up time.
After cleaning up the paper making, I finished assembling the final frames for each of the children and moved on to book binding.
The children watched me do Japanese punch binding on the reflection booklets and I showed them how to use the bone folder, punch guide, awl, needle and waxed thread and they made a few of their own books from scrap paper.
Total sheets made : 37 wisteria flowers
Tuesday, April 11 | 9:45am - 1:45pm
|
|
Inspired by daffodils today. Put together a batch of orange yellow pulp with no white included. The children helped me rip the paper. Also made a smaller batch of pure white for accents.
Used the circle cutter on the metal screen to form the base yellow shape. Added white pulp to the center and a dot of yellow in the center of that. After removing the circle deckle, I used the "v" end of a heart cutter to push in the pulp at spots around the circumference, giving the effect of petals.
The children helped me pour some of the flowers, we even switch colors to a white base with yellow center.
Also hand lettered the children's names on the final project frames. I have about half the class that needs to create a sheet of paper to go in the frames. Some are too young or not interested. I've asked the teachers to encourage them to come over and interact with me, but if they don't I will select one of the group sheets to go in their frame.
Tuesday, April 4 | 9:30 - 2pm
My sister is an art teacher in NY and she visited me for the first few hours today. She's been making paper in her classroom as well.
Inspired by strawberries today.
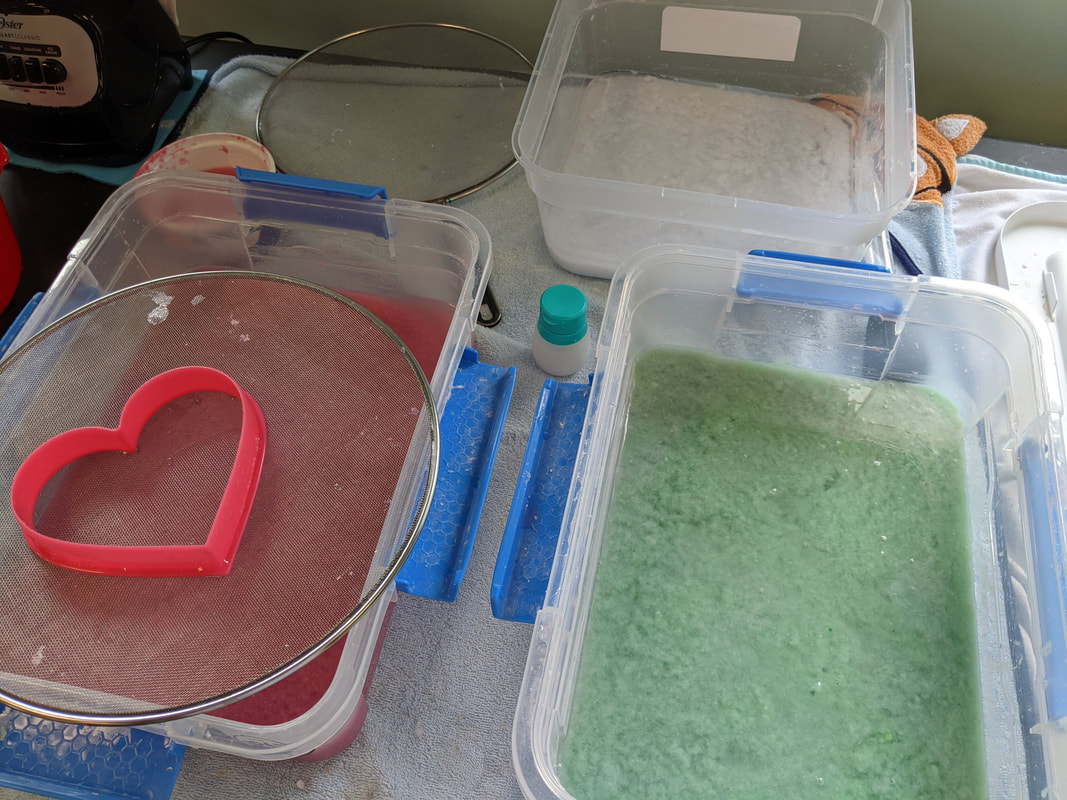
- heart shaped cookie cutters on metal screens over pulp vats
- pulp painting with white and green
- next time use string for the stems to allow to hang the berry paper
Baster works better for pulp painting but there is a balance between the water and pulp separating in the baster before squeezing. More water means less clean marks, too much pulp can clump. But the baster works better than the squeeze bottle and a thicker pulp is also easier to control. Might experiment with another tool similar to the turkey baster but with a smaller opening.
Pulled 5x8 sheets too
- some with small berries in the corners
- retested the two tone pulp technique from last week with a rubber band and it worked much better
Attempted 8x 10 sheets with the forms again
- the Arnold Grumner mould and deckle responded much better to the use of the form
- need a rubber band on one or both edges to ensure a tight seal of the mould and deckle while also holding the form in place.
Final Sheet Tally
24 strawberries / lg hearts
6 small hearts
3 circles
24 small tags / circles
11 small sheets
1 envelope
1 oval
Tuesday, March 28 | 9:45 - 1:45
|
|
Working with higher ratios of pulp to water today in green, white, & pink.
Testing a black felt with wool content for couching sheets = works! but the black dye transfers to the paper. Need to prewash all felts.
Watermark testing again: Success will be evident once dried. (Update: Successful!)
- thicker pulp than last time
+ a plastic shape with adhesive back stuck to the dry screen
+ second metal screen for couching
The Montessori students helped in pairs of two. They picked out the green color and hand shredded the paper.
Double color sheets:
Pulled a pink sheet and before the water all drained out, added a swirl of green pulp.
- second pulp needs to be thick for this process or the water just thins out the primary sheet
- need a hinged mould and deckle (which i don't prefer) or a rubber band on one side to help hold the deckle tight while adding the second pulp.
After cleaning up the paper making table, switched to testing watercolor paints on previously dried egg carton sheets. I usually don't add sizing to my sheets and rely on the recycled content of the original paper to take care of it BUT these sheets were unsized egg cartons and they were very absorbent. I'm assuming sizing is the issue here. I did successfully paint on the sheets but it became frustrating and I was fighting with the paper for my color - it just sucked it all up immediately!
Final sheet tally:
5 watercolor
16 minis
13 circles
16 5x8
Tuesday, March 21 | 10:30 - 1:30
|
|
All about experimenting today.
Jean insulation: Didn't work as a base for the paper due to clumping. Did work very finely distributed through a paper based pulp to add nice texture and color.
Business card form: Didn't work last week just being help on top of the mould by hand (pulp went under the form - I think the mould is too loose.) Attempted to use a glue stick to attach it to the mould but it wasn't strong enough and melted in the water.
Screen on 1st flip: Flipping the wet pulp directly onto a screen didn't work because there was nothing absorbent opposite the mould to encourage it to separate from it. The microsheets work best for first flip.
Watermarks: Mirroring stickers on either side of the mould kind of work but the ones I am using are paper and so they deteriorate over time. Also placed a piece of cut couching paper on top of the pulp after the pull and before the first flip to create a compressed watermark but I am doubting that it will be transparent when dry because it has the same amount of material in it as the rest of the sheet.
Flower Inclusions: Tested placing dried flowers immediately on top of the pulled sheet before compression and adding another thin layer of pulp over top to bind it to the sheet. Then press as usually. Full drying will tell if the large flowers stay in the sheet or fall off.
Final Sheet Count:
16 rectangles
2 hearts
1 large sheet
1 circle
Thursday, March 16 | 8:30am - 1:00pm
|
|
Snow on Tuesday pushed the residency to later in the week.
Today's supplies: presoaked egg cartons & donated paper from Haverhill Public Library
Today's goals: easter egg pulp painting
Last week I placed a couple of the fawn sheets in my tiny homemade book press between pieces of wool felt and couching sheets. I took them out today and they were very nicely flat, only a tiny bit damp, but also a little bit black from the color of the wool. I will have to prewash the felt before I use it again.
Over the week, I fabricated an egg mould and deckle from a pair of oval embroidery hoops and some thrifted sheer curtains to use for today's session. I also presoaked the egg crates because they are such a dense material, I wanted to be sure the blender could handle it.
Pulp batches for the egg sheets: egg crate, pink, yellow, green, blue, white
I set up a large vat with the egg crate pulp and lined up the pulp paint in smaller containers behind it.
First I pulled the egg sheet, then balanced it on the edge of the vat and used a turkey baster to paint it with the multiple color pulps. I tested a couple designs and even attempted a basket of eggs and a flower bouquet. I think I will end up adding watercolor detail to the sheets once the are dry.
Once I had proof of concept, I invited the children to paint with the pulp and turkey baster after I pulled an egg sheet for them. They worked in pairs.
Once all the interested children had painted a paper egg, I mixed all the colors together into the large vat forming a nice blue speckle color. I attempted to pull an 8x10 sheet with an insert for multiple small circles and ovals but couldn't get it to work properly. I wonder if the looseness of the screen was part of the problem. I may go back and try again later. I pulled the rest of the sheets at 5x8 size before cleaning up.
Final Sheet Totals:
15 Large Eggs
3 Circles
15 Rectangles
1 Large Rectangle
Notes: Tested out a premade form that is supposed to fit inside the mould and deckle but the pulp kept flowing under the form.
Photo Releases: All children are approved except two siblings that are out until April.
Tuesday, March 7th | 10am - 2:45pm
|
|
Today's supplies: brown paper bags
Today's goals: pulp painting & setting up the sensory table for paper making
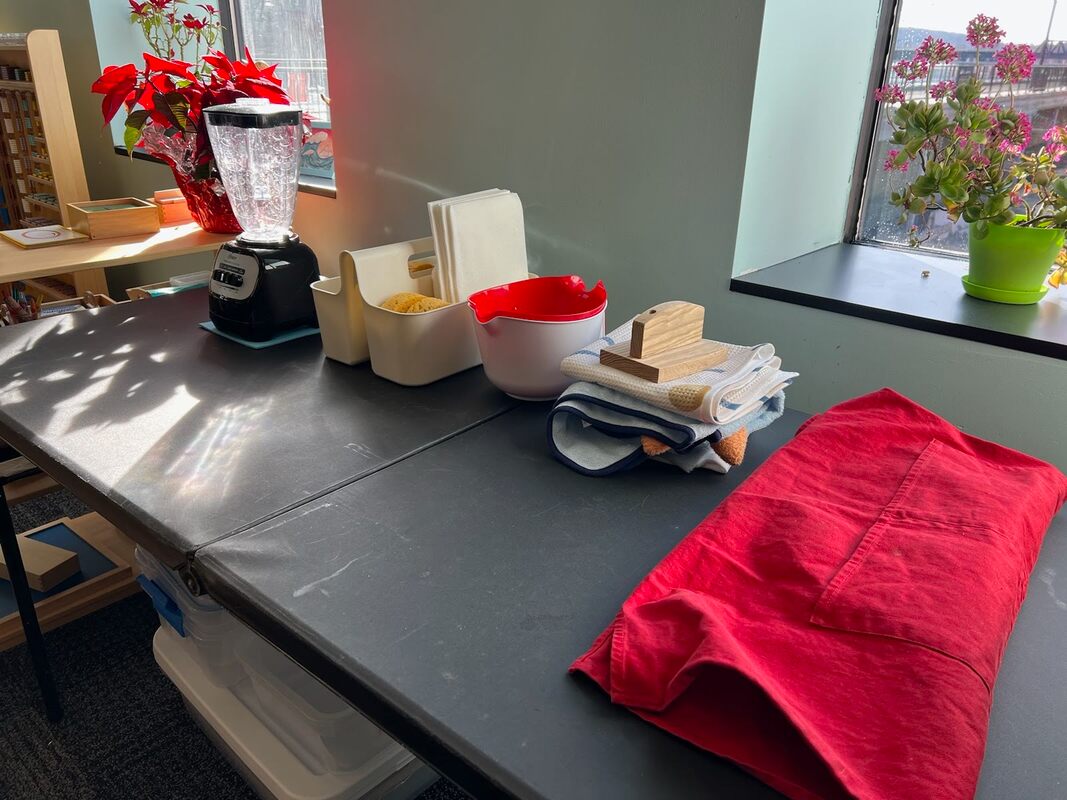
I was able to include the children in most of the paper making process today! I staged the sensory table from Ikea to allow for pulp pouring on one side into the vat and couching on the other using the cover.
I tested out the sensory table set up on my knees but quickly decided I need to get a foam mat to kneel on. I started with a brown paper bag pulp and made a small batch of while pulp with tissue paper to use for painting.
Using a large circle cookie cutter as the deckle and a stiff metal screen with handle as the mould. I layered in the brown pulp and used a turkey baster to add dots of white pulp to attempt "painting" a pattern. I reminds me of a fawn's coat.
My second batch included white pulp with strips of brown paper bag and blue sugar bag ripped into confetti. I invited the children over to participate at the sensory table. They sat at two chairs opposite me and took turns pouring in the pulp and couching the sheets. I labeled each sheet with the child's name for presentation at the end of the residency.
Final sheet count:
17 Fawn Circles
21 Confetti Circles
Note: A spill of white pulp on the floor was easily cleaned up as the paper fibers pilled when rubbed.
Thursday, March 2, 2023 | 10am - 12:30pm
|
|
Snowday on Tuesday pushed back residency to Thursday. Used voided checks for this batch of 5x8 paper. The children helped me tear up the paper before blending. Resulted in a nice "bank" blue color. Starting to do final clean up of pulp through the large heart mold, easier to catch the pulp that way when straining the water and results in an interesting final piece, usually thick and lacey.
Watermark experimentation: Adding a sticker to the screen on both sides before pulling the sheet.
- sticker was paper based and deteriorated after one sheet.
- the watermark did break (the pulp was too thin over it)
> for the next test the pulp needs to be thicker
> or the sticker can be places on the pulp during the first couching
Tuesday, February 21, 2023 | 8:30am - 10 & Friday, February 24
|
|
Residency cut short on Tuesday due to sick call from daycare for Henry. Returned Friday.
Attempted a cream color paper with yellow and white and added in pressed flowers.
Pressed the flowers with an iron between two sheets of parchment paper. The children enjoyed seeing the different ways the flowers dried and smelled when they dried - one of them suggested we make shamrocks and I was able to layer the small heart mold to good effect.
Need to test more how to include large pieces of flower into the paper without it falling off after the sheets dry. The mold and deckle box helped a little bit but I need to research it more.
Ended up lightly blending the rose petals with the pulp for a confetti effect.
During clean up, draining the extra pulp into the heart mold makes for convenient clean up.
Tuesday, February 14, 2023 | 8:30am - 3:30pm
|
|
Reintroduced myself to the children during circle time and let them feel the paper that I made during the last session. Children came into the studio space in pairs to observe and ask questions. Brainstorming ways to include them in the process without overwhelming them or myself.
Found a few sheets of discarded painting from the children in my paper pile this morning with pink and purple paint - perfect to make a blush colored recycled sheet! Put that vat together with a underblended batch of "pulp" from a Goldfish Colors package to create rainbow flecks. The paint on the paper did make a foam on top of the pulp that I removed. Made a second batch of pure white from the Haverhill Print Cafe offcuts.
I started with pulling just rose flecked sheets before mixing up the second white batch. Using a couple of heart cookie cutters, I was able to pour custom molds on top of a flat splatter screen. Experimentation included:
- Overlapping large hearts that once dry will fold into a heart shaped card
- Small hearts, perhaps they will become paper flowers in the future
- Layering 5x8 sheets with small hearts in between
- Placing the small heart inside the large heart for a lace sheet
- Placing the small heart inside the large heart for a multi color sheet
- Double dipping to form an ombre effect, first in the white and then in the pink
Attempts to create a mask/watermark both failed:
- use a cookie cutter while pulling the sheet just resulted in a slight outline that disappeared once the paper was pressed.
- use a piece of paper on screen while pulling the sheet just resulted in the paper floating away in the pulp. Will bring a glue stick next week to test.
Use of the baster to "paint" with the pulp was slightly successful. Pulp must be thick and force applied when squirting must be minimal to avoid stippling
Tested out the soaking transfer method without success. Will have to look into that more.
Note: Paper flat drying on the easel needs to be single couch, double couch is too dry.
Cut up a discarded bedsheet to use for couching cloth but had a bit more difficulty getting the transfer. Will test hang drying once I figure out how to set up a clothes line.
Cut up felt for the mini book press but think it is too small to use for paper drying or flattening. Will come into play for book binding.
Total sheets produced this session:
Medium Vat / 2 part water + 5 parts (1 discarded painting approx. 8.5x11 + 3 cups water) + 1 part (goldfish wrapper and small amount of leftover dried green pulp from last session + 3 cups water)
Medium Vat / 1 part water + 5 parts (white sheet 8.5x11d + 3 cups water)
15, 5x8 sheets
31, mini hearts
23, large hearts
Thank you to the Haverhill Print Cafe for letting me stop by and pick through the recycle bin!
Monday, February 6, 2023 | 8:30am - 12:15pm
Made my introductions to the children and had them come in to the studio space in pairs to show them the discarded paper I start with and the finished paper / booklets I end with. The sound of the blender agitated them at first, but I think they will get used to it as I continue to visit weekly. They are learning what it means to observe and not touch/talk but I enjoy answering the questions & the curiosity/wonder though they are easily distracted in the space.
Tested the space with a single batch of green flecked paper, 12 sheets of 5x8. Adapted the 5x8 mould and deckles from Michael's to remove the hinges for easier transfer to the couching sheets. One of the two is non-functional because the screen is pulling free. Unfortunately, I didn't save the packaging to return it but I should be able to fix it.
Small Vat / 5x8 mould & deckle / 1 part water + 4 parts (3 cups water blended with 1 sheet) + 1 part (3 cups water PARTIALLY blended with 1 sheet white for flecks)
- unload to large microfiber sheet (watch out for fold lines)
- sponge & lift deckle
- flip to couch sheet w/ sponge
- flip to DRY couch sheet w/ wood
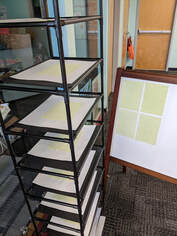
- dry with couch sheet on rack or remove and smooth onto easel
A call has been sent out to the families for recyclable paper to use but I will continue to source it as well. Thank you to the Museum of Printing for the donation of outdated and faded paper.
Mindy Paper Art Studio & Licensed Retail Residential Kitchen
Haverhill, Massachusetts | [email protected]
Haverhill, Massachusetts | [email protected]

